
How It Works
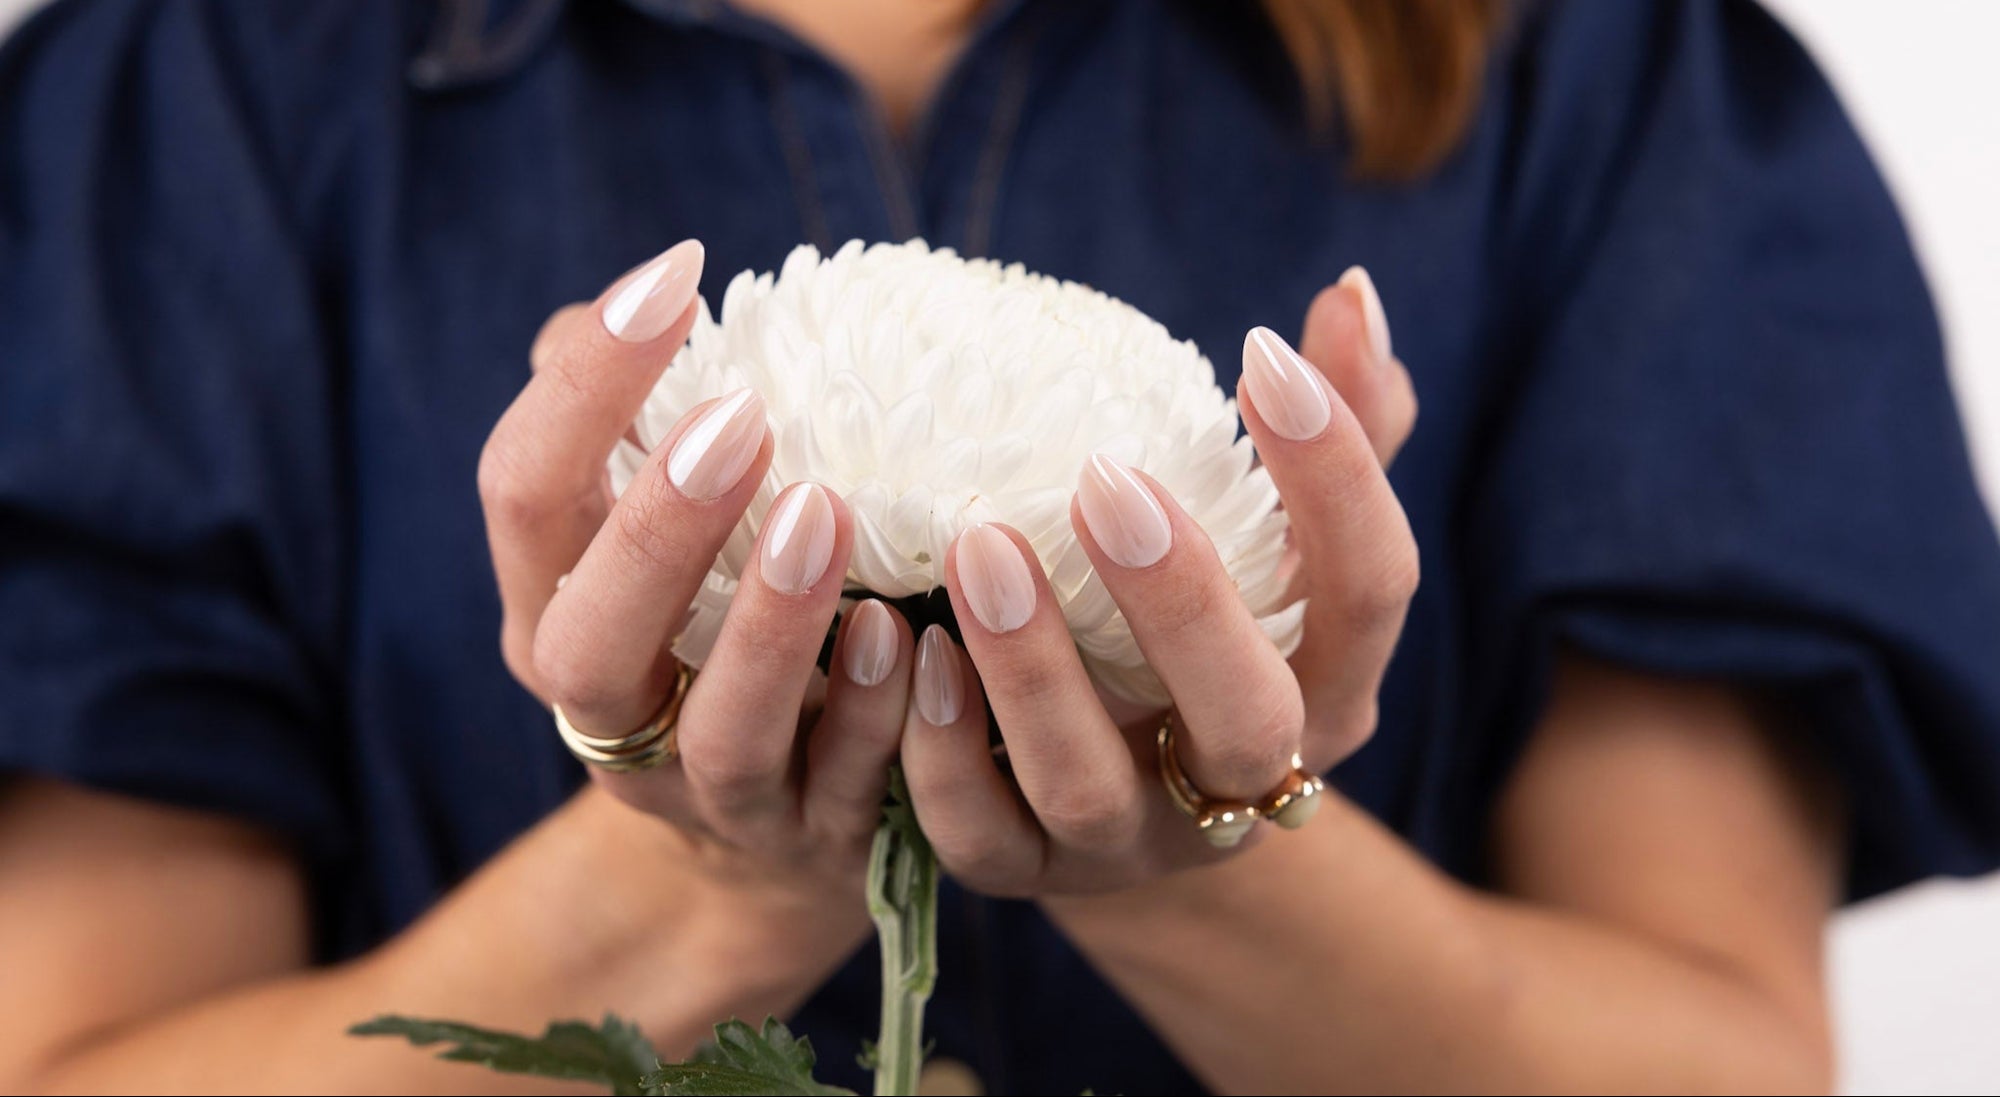
Learn How To Apply, Remove and Re-use Your Amour Nails Press-Ons
Adhesive Tabs Application
Step By Step Application

Gently wash your hands with soap and water to remove any dirt or oils. Dry thoroughly before moving to the next step.

Use a cuticle stick to gently push back your cuticles.

Lightly file the surface of your natural nails and buff to remove shine. This step ensures stronger grip and longer wear.

Wipe each nail with an alcohol wipe to remove any remaining oils or dust. Let dry completely before continuing.

Select the best-fitting nail for each finger. Line all the nails up in front of you in the correct order.

Match each adhesive tab to your natural nail size. Make sure the tab covers the entire nail. Peel off the backing and apply to your nail, pressing firmly for a few seconds. If there are any air bubbles, remove them by rubbing the cuticle stick on the tab.

Position the press-on nail at a 45-degree angle, aligning it just above your cuticle. Gently press the nail down from the cuticle toward the tip, ensuring it adheres smoothly without air bubbles. Hold firmly for 15–20 seconds to secure the bond.
Glue Application
Step By Step Application
Follow Steps 1 - 5 of the Adhesive Tabs Application Instructions

Apply a thin, even layer of glue to both your natural nail and the back of the press-on nail. Remove any excess glue with the alcohol wipe before it dries.

Wait a few seconds for the glue to become slightly tacky. Then position the press-on at a 45-degree angle, just above your cuticle, and press down slowly toward the tip.

Press firmly for 15–20 seconds, applying light, even pressure across the entire nail. Avoid pressing too hard, as this can cause glue to seep out around the edges. Ensure the edges are sealed for a clean, long-lasting hold.
Adhesive Tabs Removal
Step By Step Removal

Starting from the side, gently lift the edge of the press-on nail using a wooden cuticle stick. Move it back and forth slowly but never force it off.

Peel off the adhesive tab from the press-on nail using the pointy end of the cuticle stick.

Rinse the used press-ons with warm water and mild soap. Pat dry and store them in their original tray for future use.

Finish by brushing a small amount of cuticle serum onto each nail. Massage gently to hydrate and nourish the skin around your nails.
Glue Removal
Step By Step Removal

Gently lift the edges of your press-ons using a cuticle stick.
Soak your nails in warm, soapy water for 15–20 minutes to help loosen the glue naturally.

Using a wooden cuticle stick, gently lift around the edges of the press-on nails.
Add 2–3 drops of our remover serum to the gap and allow it to work for a few moments before continuing.

Carefully slide the cuticle stick under the press-on nail, working slowly until it lifts off.
Repeat Step 1 if needed but never force the nail.
Rinse the used press-ons with warm water and mild soap. Pat dry and store them in their original tray for future use.
Finish by brushing a small amount of cuticle serum onto each nail. Massage gently to hydrate and nourish the skin around your nails.